Create Account
‘Cloudfonica’ is a completely self-managed Bandwidth Optimization service for VoIP call termination businesses. Managing Cloudfonica was made easy for customers of all kinds – corporate to general user. This quick start installation guide will provide complete step by step installation procedures to create Cloudfonica Account, Payment Processing and Cloudfonica Server creation. It’s just a click away!
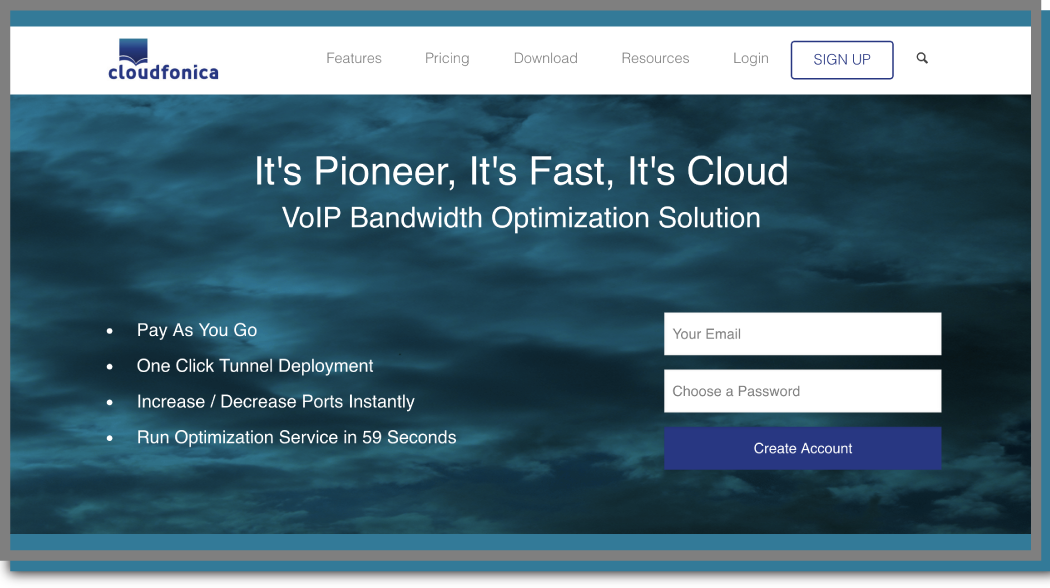
Creating Cloudfonica Account
- Visit cloudfonica.com
- Put a valid email and password.
- Press ‘Create Account’ button.
- Check email for activation link.
- Verify account registration by clicking the link.
Profile Setup
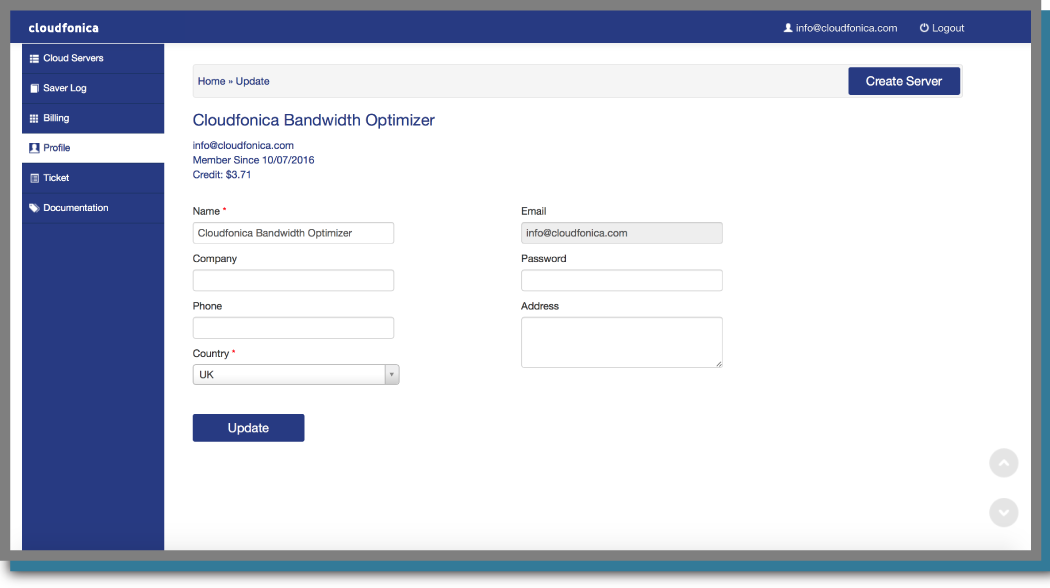
- Log in to Cloudfonica Account.
- Navigate to ‘Profile’ tab on the left menu.
- Put all information required in the profile page.
- Keep the ‘password’ field blank if you want to use the same ‘Account Creation’ password. Otherwise choose a new password.
- Click the ‘Update’ button.
Payment & Top up
- Log in to ‘Cloudfonica Account’
- Navigate to ‘Billing’ tab on the left menu.
- Click the ‘Add Credit Now’ button and a page will open instantly.
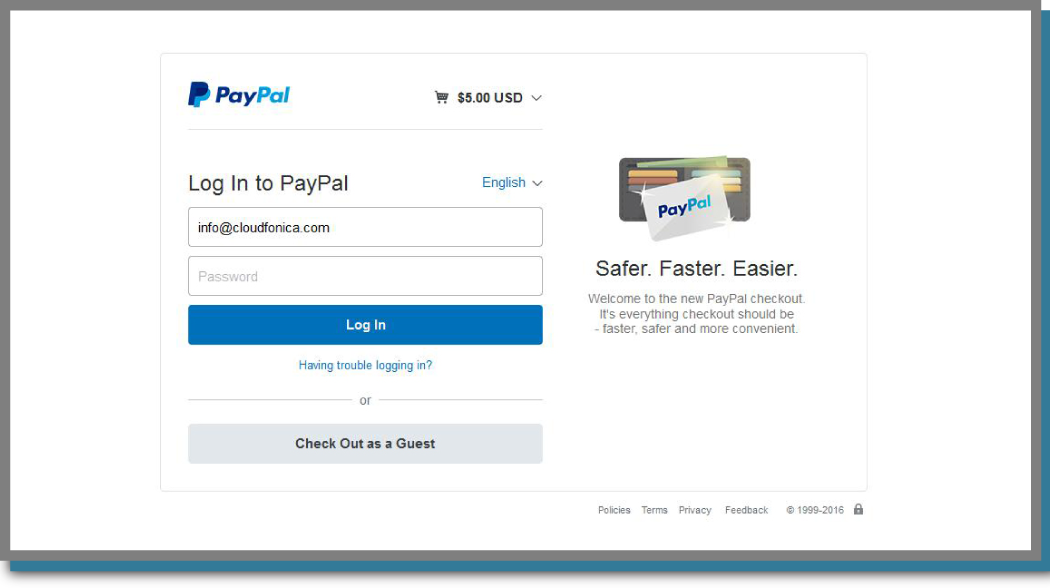
- Put the amount and click the ‘Create your payment’ button and it will open a secure PayPal page.
- Log in to your PayPal account to complete payment procedure.
- To pay by Credit Card, choose the ‘Check Out as a Guest’ option in the same PayPal page and follow the on screen instructions.
- To pay by Bank Transfer, please contact with our team by emailing to info@cloudfonica.com.
- After paying by Bank Transfer, clients need to send a scanned copy of the receipt or clear screenshot to our Billing Team.
- Amount paid by PayPal or Credit Card will be updated in less than an hour to clients Cloudfonica Account.
- Amount paid by Bank Transfer can take longer time to be updated. Once we get notification from our bank accounts, it will be updated instantly to client’s Cloudfonica account.
Creating Cloudfonica Servers
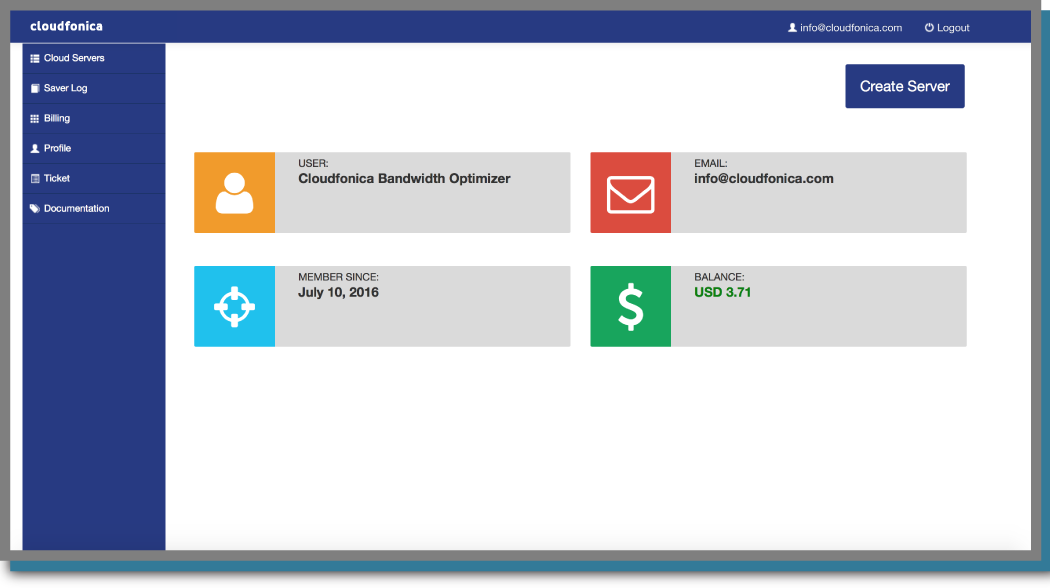
- Log in to ‘Cloudfonica Account’
- Click the ‘Create Server’ button on the right top corner
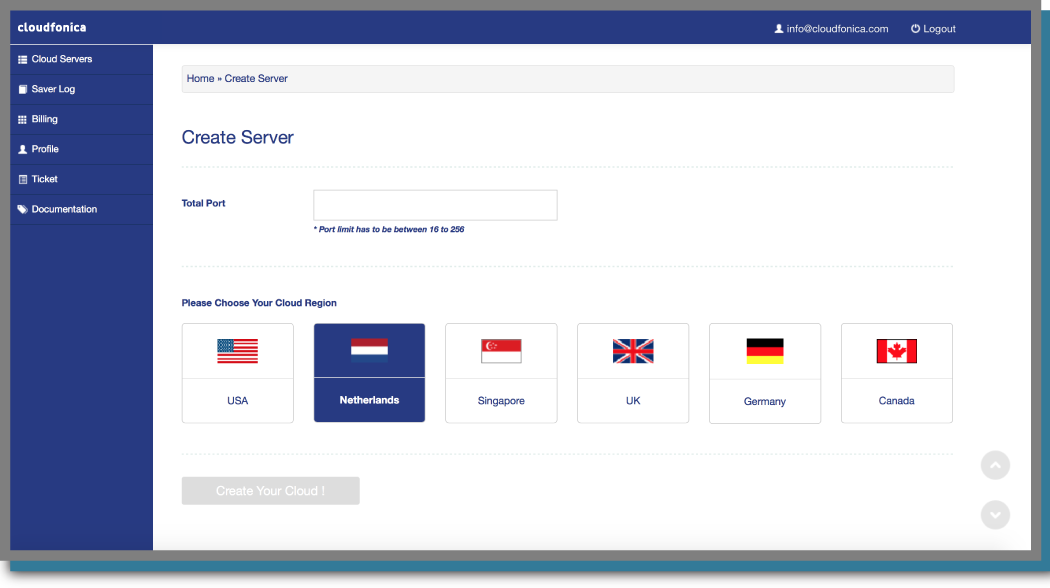
- Put the required number of ports (Between 16 to 256) in ‘Total Port’ box.
- Select a Cloud Region (Server Location)
- Click the ‘Create Your loud’ button
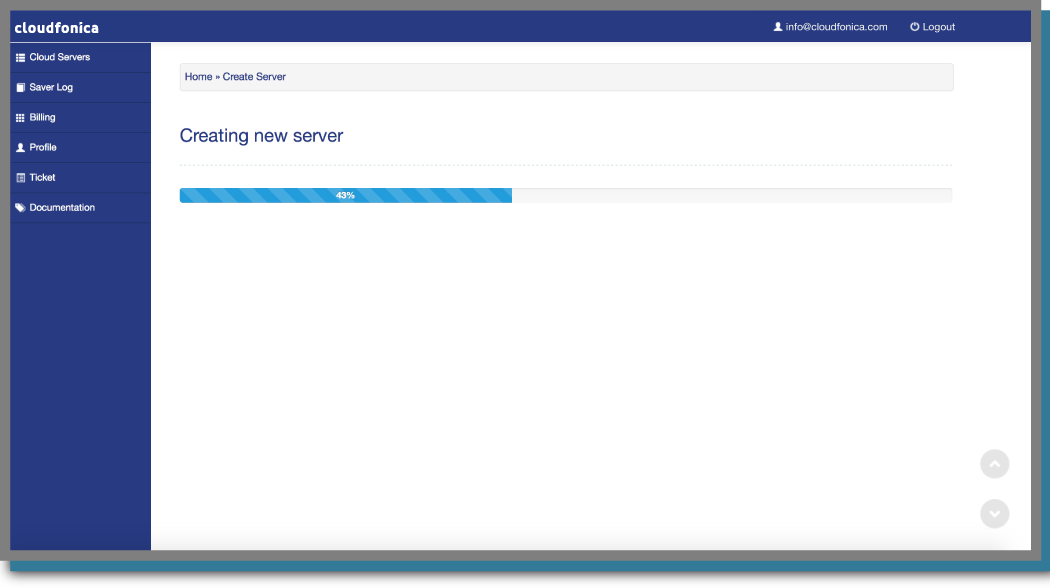
- A new page will show the progress bar for cloudfonica server creation
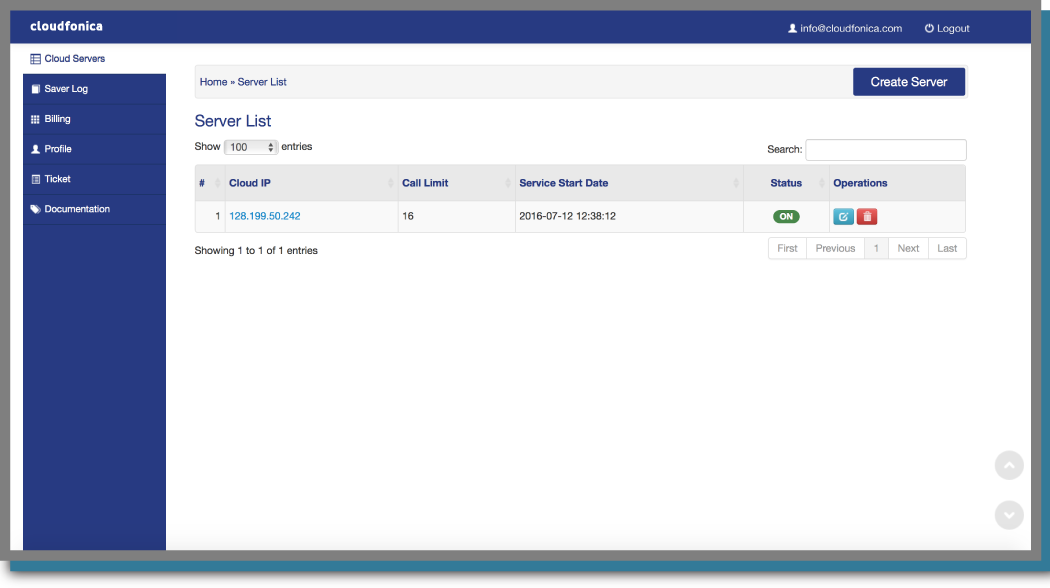
- Once server creation is completed, a newly allocated server will be shown in the ‘Server List’ page.